How to create an event
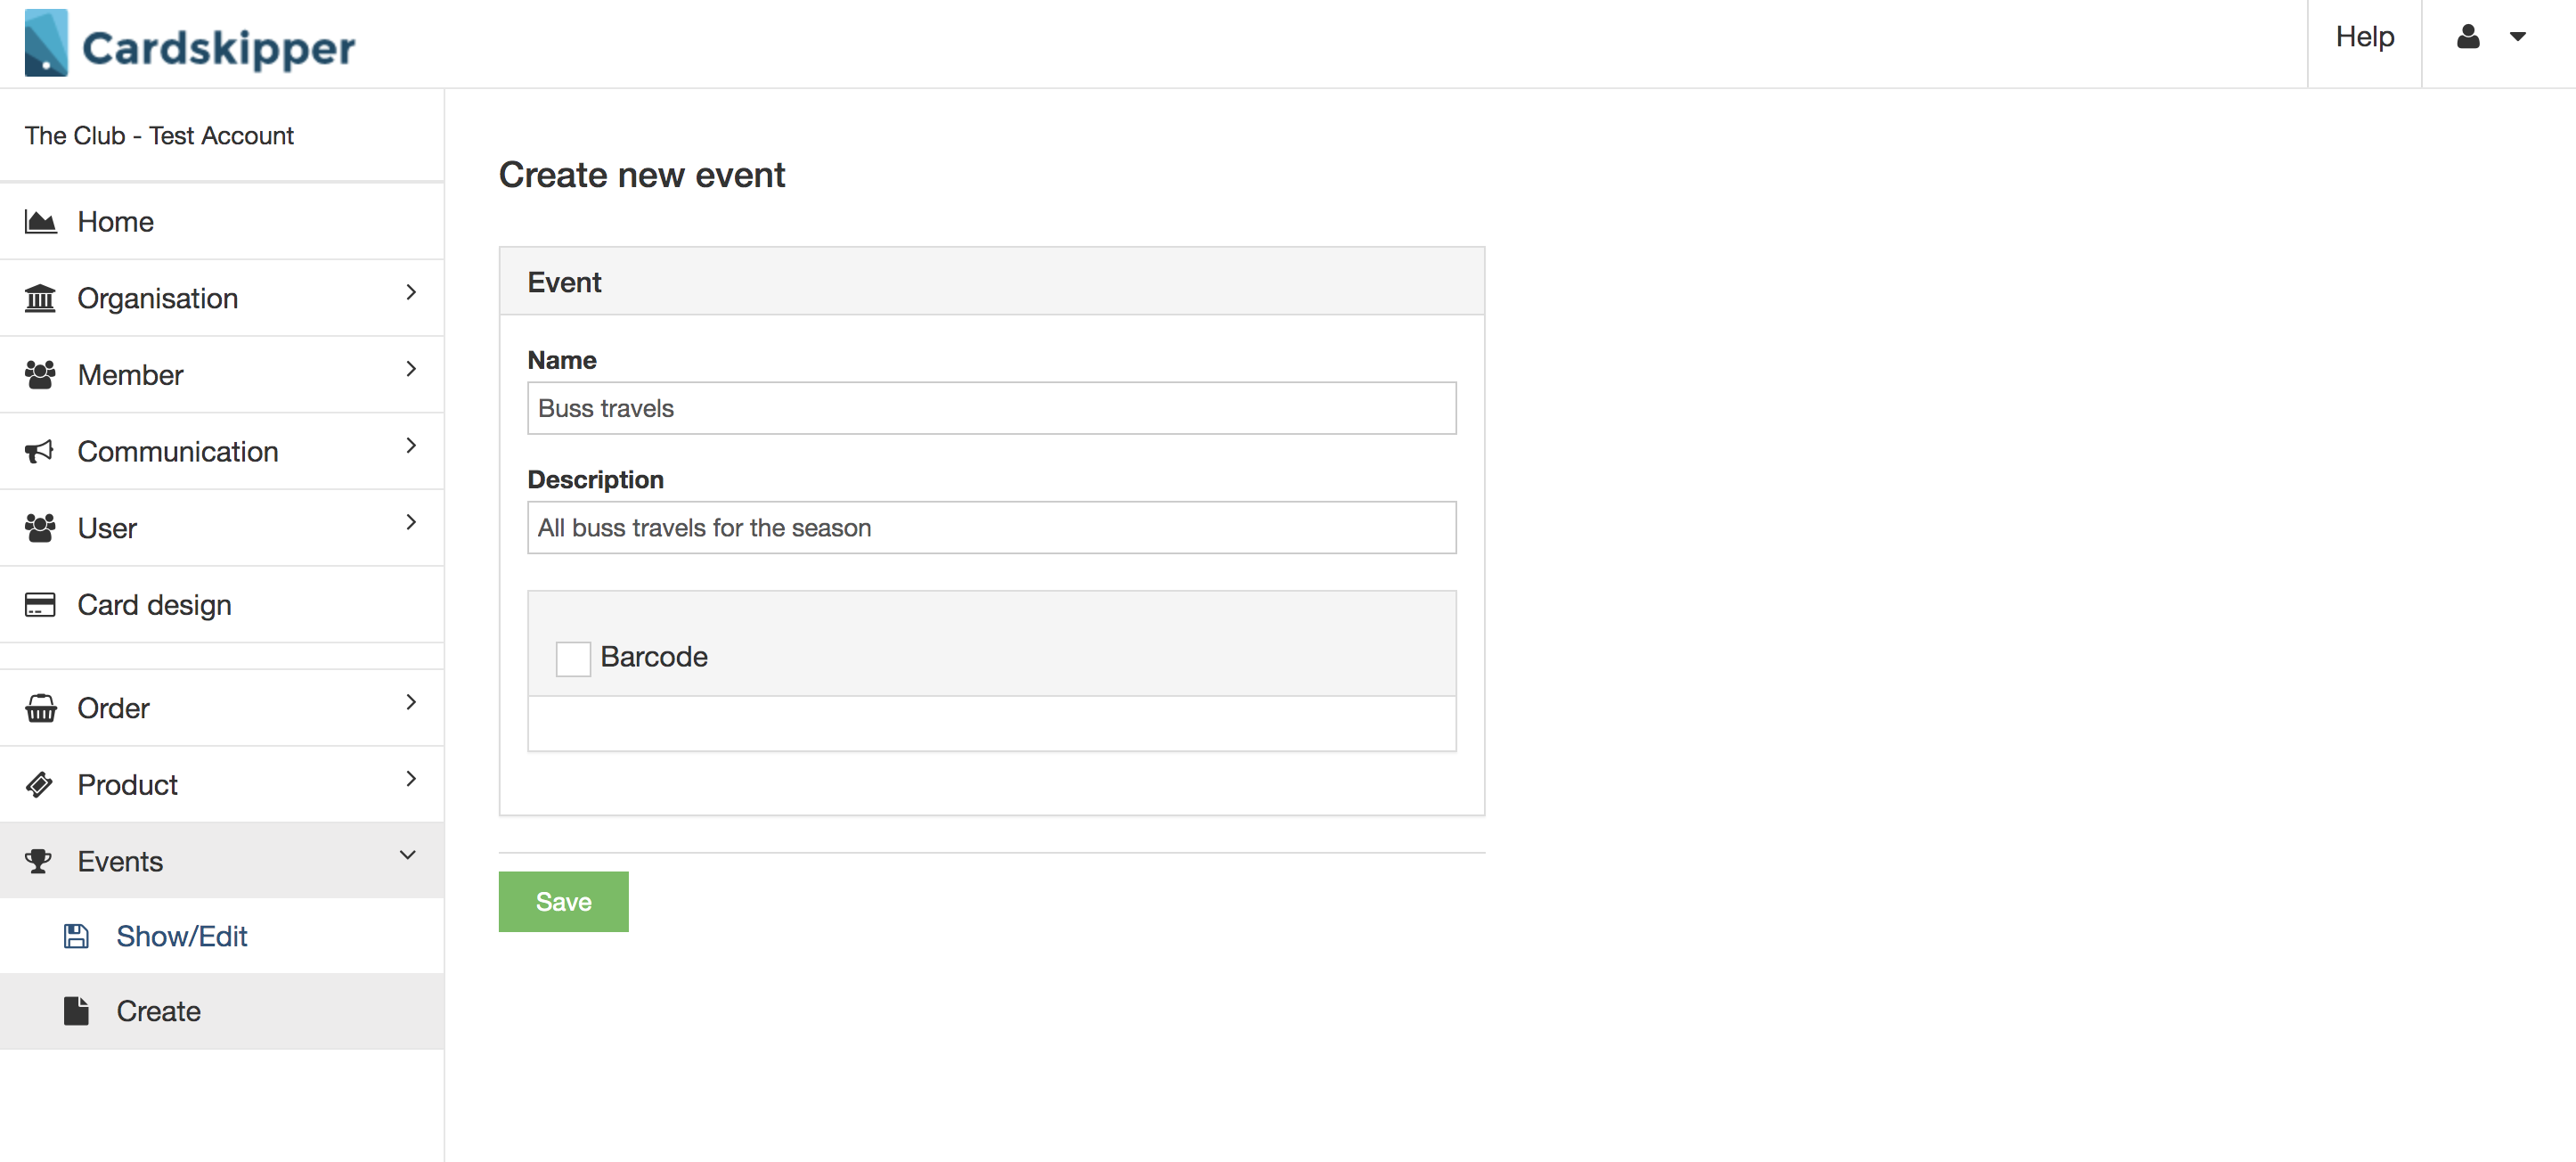
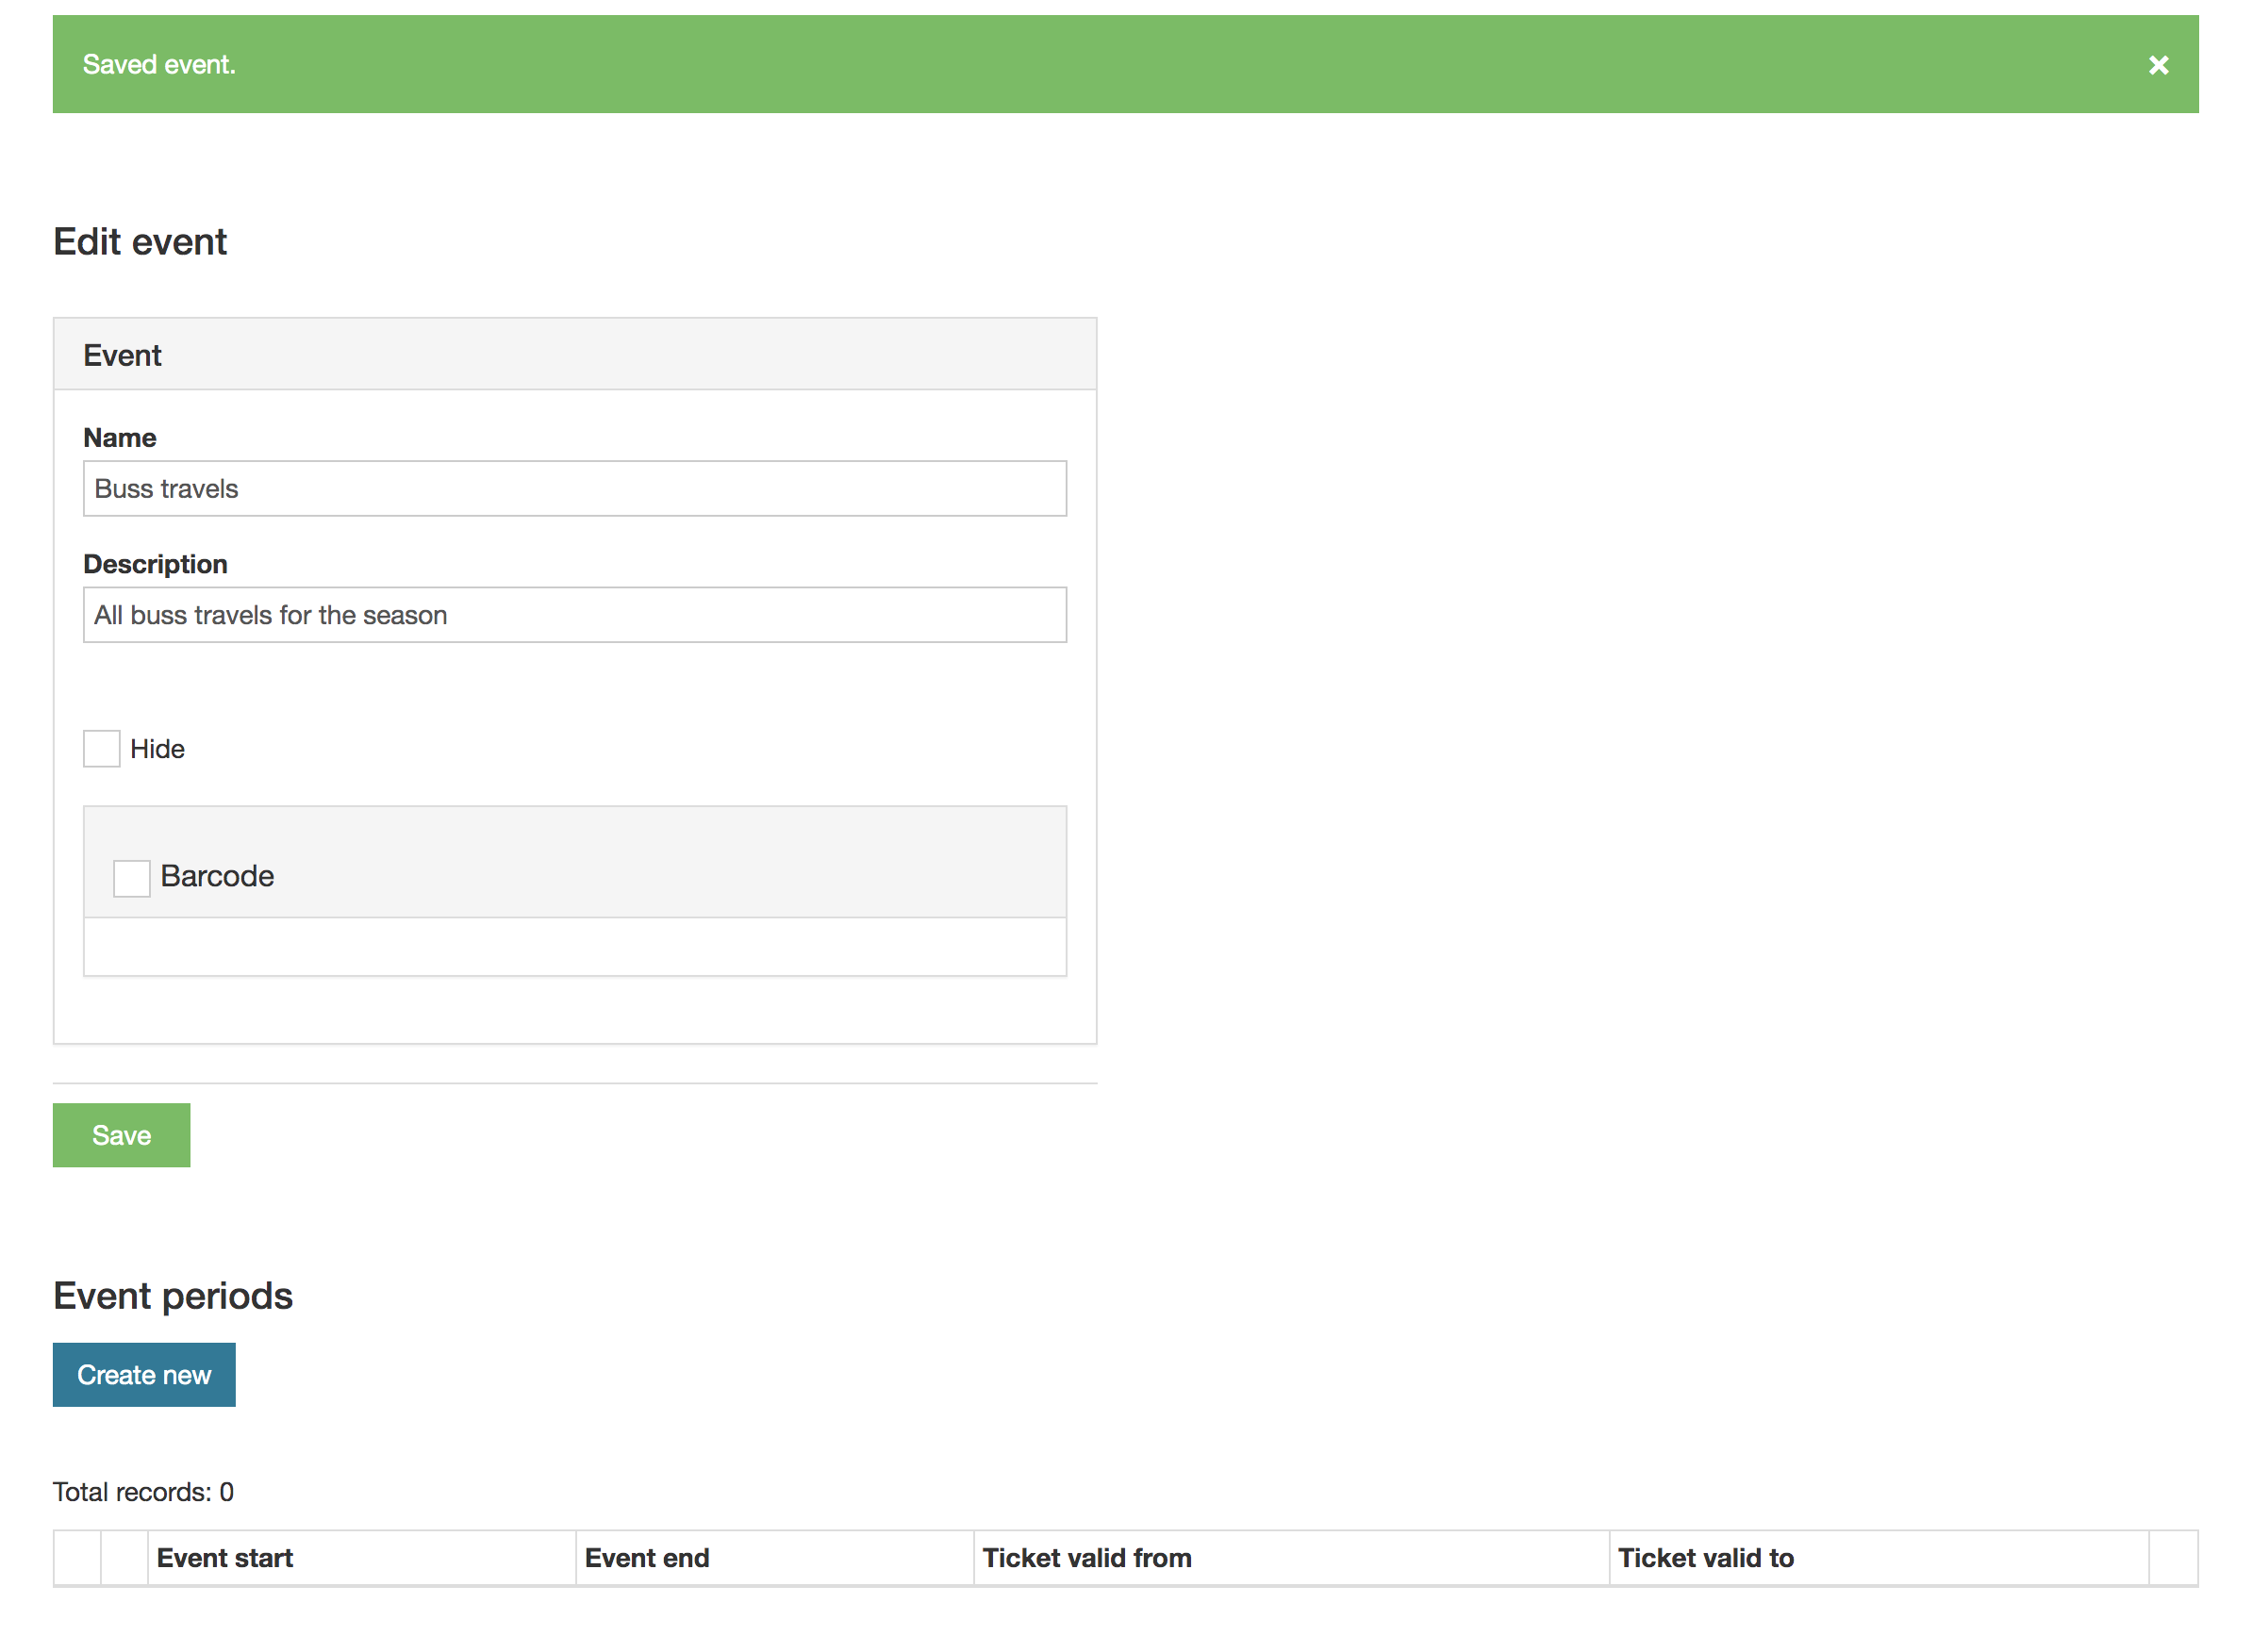
Create a new event by adding a Name and Description and click Save.
Create a new event period by clicking Create new.
Enter the details for the event period.
Select max purchases per member and max participants for the event. The system will not allow more bookings than the number you enter.
What roles should see the event?
Choose a price, or maybe the event period should be for free?
Fill in when and if the member should receive the communication. Make sure you check the Notification on publishing if you want the members to receive a push notification on their phone.
Add a title and description that fits the event period.
The ticket information will appear in the app for the members when they have made a booking at the event.

Make sure you enter the correct information before you click Publish.

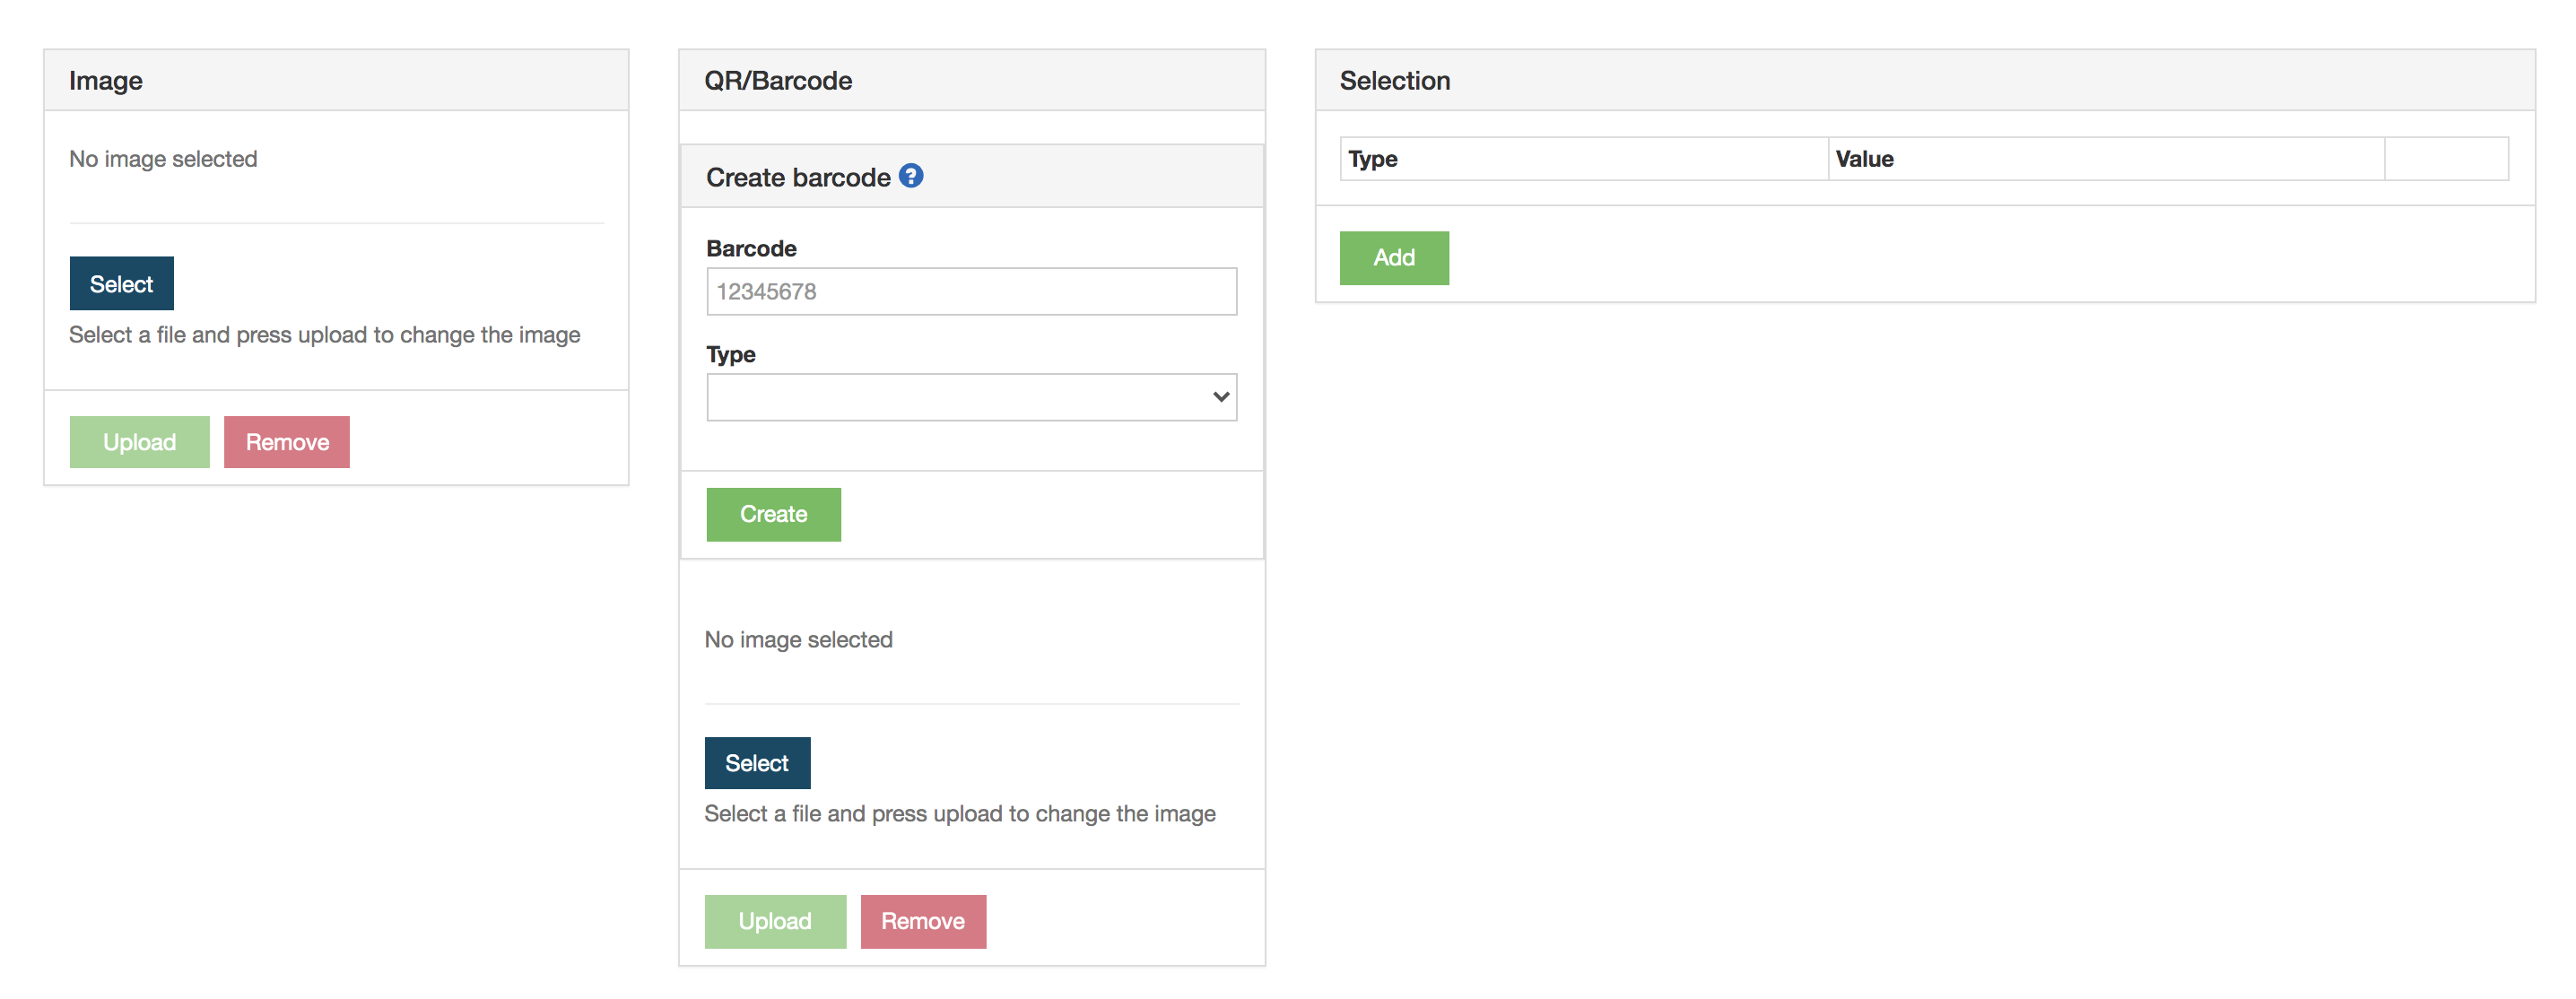
Add an image (optimal ratio is 16:9).
If you want to have a QR/Barcode it’s possible to generate an unique code for every member. Click the and select which data it should be generate by.
Be more specific and change the target group by clicking on Selection Add and then choose what information the target group should be filter of.