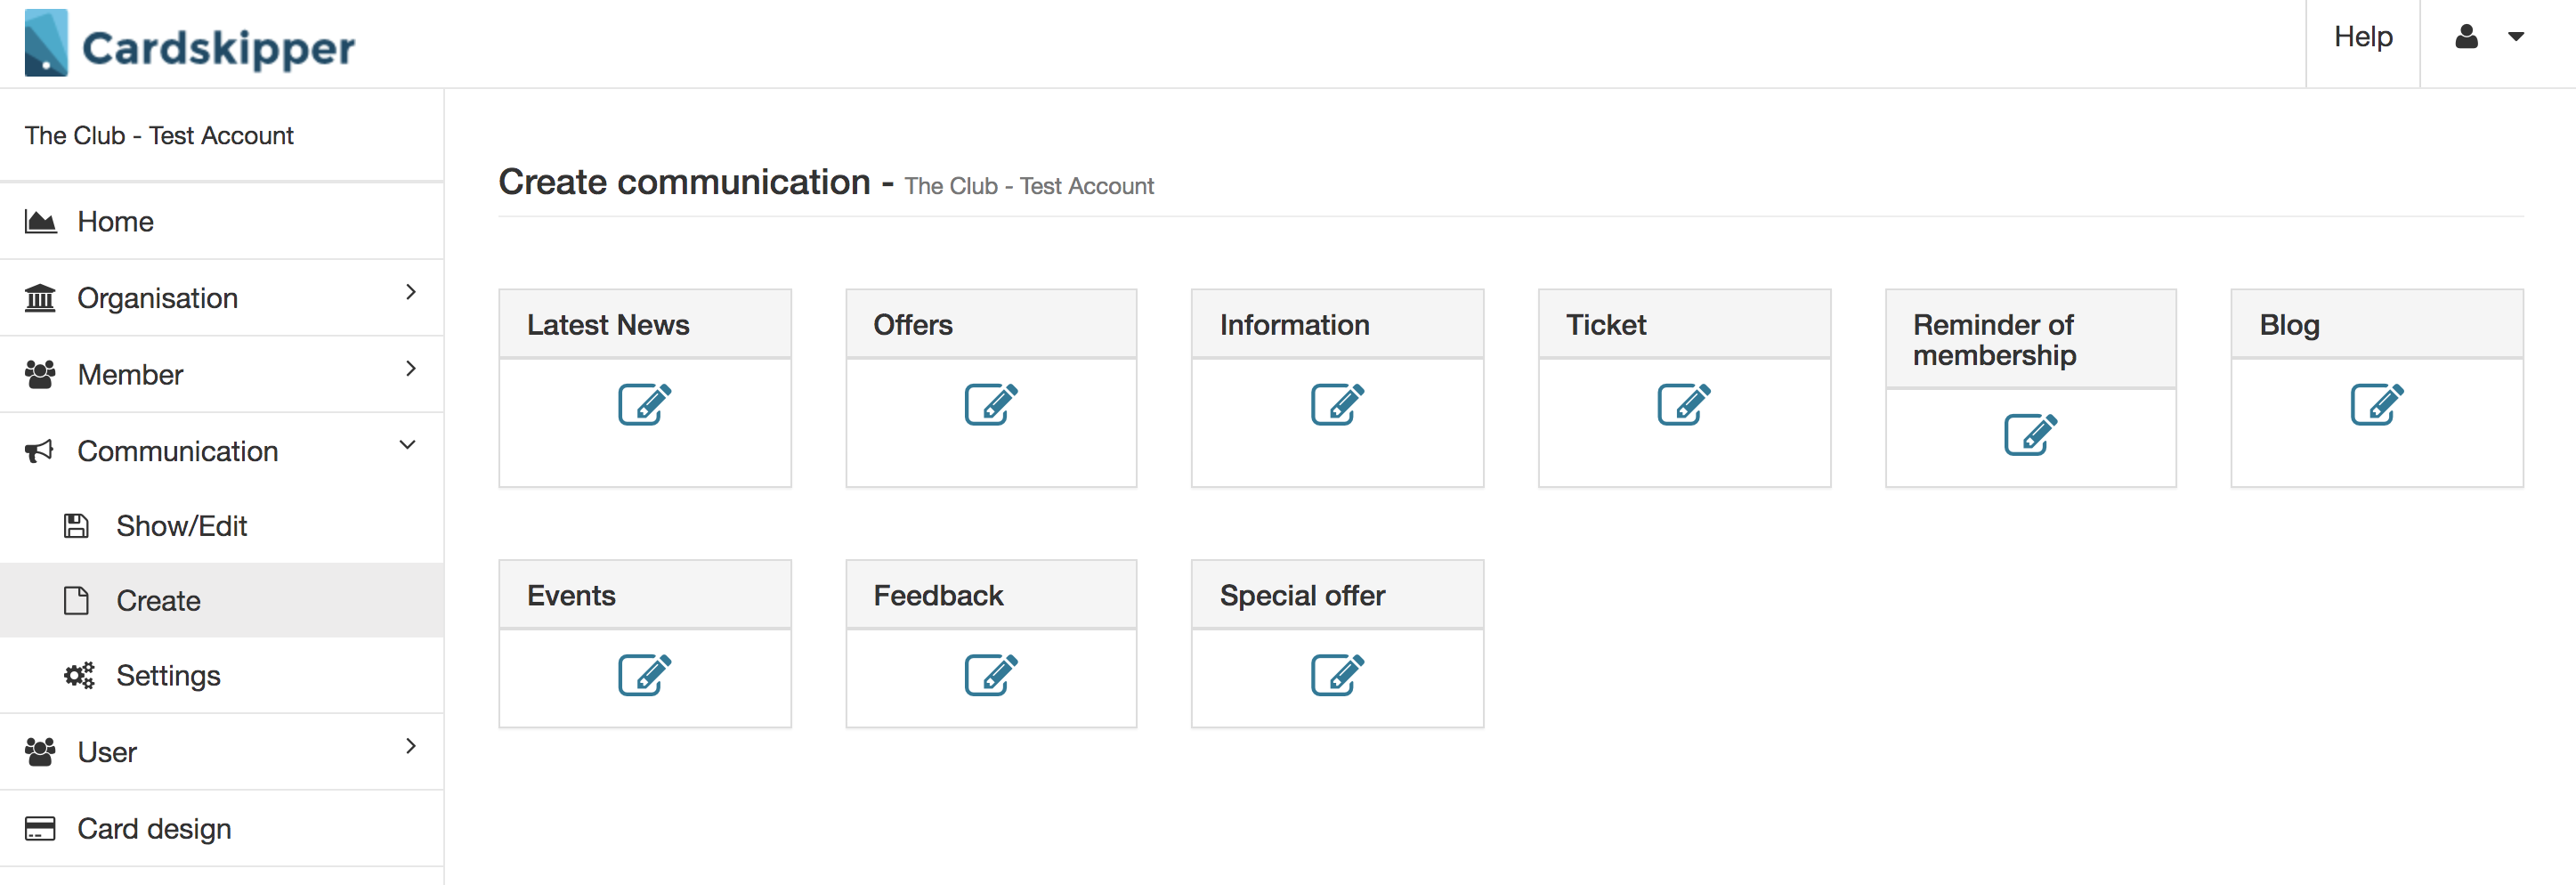
How to create an offer communication
Select communication type when you creating a communication. The communication type will appear as a category column in the app.
Base information – Choose a title, priority level and time period that the communication should be valid for.
Links – add a button on the communication that contains a hidden link.
Publishing and push – Change the time the communication should be published at. Select push if you want to alert your members with an app notification. You can also overwrite the title by adding a custom push message.
Description – write a text that describe the communication.
Roles – which roles should be able to see the communication?
Click Save

Make sure the content is correct before you click Publish. When it’s published the members will receive the communication in their app (and push notification if that setting is used)
If you want to make a consumable offer of the communication click Consumable and choose a code that the store want to use at the cash out desk.

Be more specific and change the target group by clicking on Selection Add and then choose what information the target group should be filter of.
Add an image (optimal ratio is 16:9).
If you want to have a QR/Barcode it’s possible to generate an unique code for every member. Click the and select which data it should be generate by.
